
Every time you use a buffing tool, you must clean the pad after every swipe, because the pads will take on a lot of scraped paint and dirt. So, it is wise to clean them once you are done detailing. You may have to efface the pad surface in between tasks because of clogging issues.
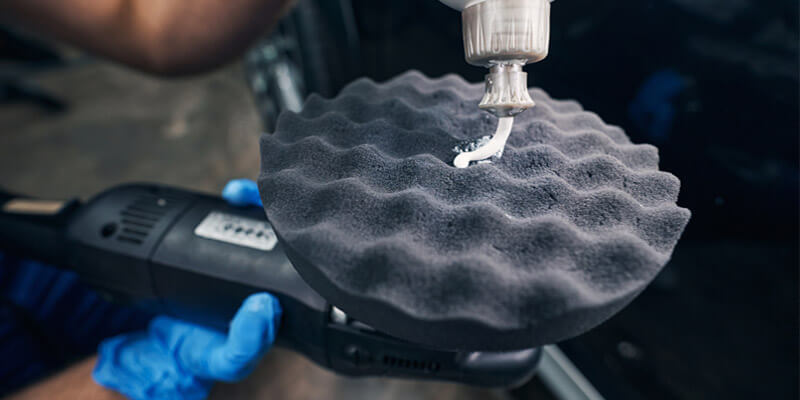
Polishing pads come in different variants like wool, microfiber, and foam, and every single one has different characteristics and needs different cleaning techniques. For people who use wool pads, you are in luck. We are here to talk about how to clean wool polishing pads, bear with us.
Is it Necessary to Clean Wool Buffing Pad?
Yes, it is super necessary because wools are prone to attracting heavy dust and dirt from the car’s surface. If you don’t clean the pad, it will catch the chemical residues, and if untreated, the pad will later get hard due to compound build-up and will deteriorate over time. Using it in the next round might be extremely tough for you if you don’t clean the buffer pad after every round.
More importantly, you want the polishing pad to be on the fluffy side, and for that, you must maintain it in the best possible way to counter the compound overloading on the pad.
Using Wool Buffing Pad Cleaning Spur
The most efficient way to clean a wool pad is to try a spur tool. Because we are talking about wool, let us tell you that the material that goes with it, like lamb wool, is very sensitive and therefore must be handled with care. You cannot just go on to rub it with hard-bristled brushes, doing so will hinder the wool’s workability.
Step 1: Setting the Rotation
Before you use the spur:
- Make sure the RPM setting is on-point.
- Turn on the polishing tool and keep it between 1800 to 2100 rotations per minute.
- Don’t crank it over this rate, as it may put pressure on the wool material.
Going slower than the rating might not dig out the residues properly. When the pad is spinning, place the spur on top of it with another hand. Just place it lightly on the surface, and it should work magic automatically.
Step 2: Guide the Spur
You don’t have to use excessive force. The spur edges will etch the sturdy compounds as the pad circles around. Move your hand carrying the spur from the edge to the center, and you will see it knocking off different kinds of dusty components.
As most wool pads are light in color, such as whitish tone, you can see some black circles on the pad after the spur has been used. This is because of the aluminum surface of the spur comes in contact with the wool. In this case, you have nothing to worry about.
The Alternate Process of Using a Spur
If you are using a pad, you can also go for a more thorough cleaning if the above process doesn’t work properly. In this method, we will be using the spur as well, adding a few steps to further take off the mucks from the surface.
Step 1: Wet the Wool
Previously we didn’t splash the wool with water, but now we will. This is going to take off some dirt particles and loosen up the harsh compound formation on the top. To start, remove the pad from the buffer tool and then spray water using a pressure hose.
Step 2: Use Degreaser
Now that the surface is all wet apply some polishing pad cleaner or any degreaser. Use the pad cleaner in little proportion, and then massage the wool surface with your hand. This should start the chemical reaction on the surface of the wool pad. Go slow with the rubbing just to loosen the compound.
Step 3: Wash Off the Chemical and Reattach the Pad
Now use the water hose again to rinse the degreaser that you’ve applied previously. As the water takes off the chemical, you will be left with a soaking wet wool pad. All you have to do now is to fix the wool pad back into the backing plate.
Step 4: Take Off All Water by Cranking the Rotation
Now you have to excrete all the water by running the polishing tool. Start at stage 6 and let the blade rotate the wool pad, and sprinkle all the water out.
Switch it off and then use a microfiber towel to gently press on the wool head, then restart the rotation. This should make the wool fiber stand out and look clean. Wait, you are not done yet.
Step 5: Use the Spur
Now use the spur on the surface with your other hand. Turn on the machine at its lowest setting, such as in stage 1. This should be good enough to re-fluff the wooly texture. Don’t dig the spur too hard. Work it gently, and after a minute or two, you will slowly see a fully fresh buffing pad. Bingo!
Using Compressed Air to Clean Wool Pad
Another simple technique to blow away all the dust and dirt from the wool polishing pad is to use compressed air. Simply start by attaching the blowing nozzle to the air hose and then use it on the surface with a strong stream of air. Best if the pad is stationary and you toggle the nozzle circularly to kick off the residues from the surface.
You can also use the rotation of the pads and apply the air pressure simultaneously. Just make sure the pressure is not over the top, as it can displace the headgear from the patch and loosen up the wool’s integrity.
FAQ
It is advised that you don’t try to mix any chemicals or soaps in your home to clean wool pads particularly. Such pads are very sensitive and must be cleaned with high-quality cleaning solutions, as we mentioned if you try to use dishwashing liquid and tap water.
The chances are that the pads will be slimy and continue to excrete soapy substances when you use the buffer tool. Best if you can get degreasers or any wool pad cleaner from the market.
It is not recommended to throw a wool pad into the washing machine. First, the detergents will not do any good to the pad as it will be stuck, and the slimy residues will come through the next time you start afresh. Secondly, a machine washer will use excessive force and might deteriorate the wool samples from the top.
If the wool pad is soaked, you can take out the excess water by attaching it back to the motorhead and turning it on. Use a decent rotation, as we mentioned in step 4 of the alternate process of using a spur.
Don’t put the machine in a dryer. It is going to tamper with the effectiveness of the wool. We recommend you lay the pads face up and let them air-dry overnight.
Conclusion
First, you have to understand the type of polishing pads and their functions. Then you will have to worry about maintenance. If you are using a wool head, then knowing how to clean wool polishing pads will take your detailing to the next level. It is crucial to clean the pads after every use and also in between work.
We have mentioned the most productive ways of cleaning wool pads in this article. If you follow the set of instructions, you should be able to bring out a tidy wool pad before you counter the deep scratches on your vehicle.