
Hadn’t you been cleaning the outer part of your vehicle’s lens forever? Believe it or not, that’s the main reason why your car’s headlights are foggy and oxidized. Headlights are considered to be the eyes of your vehicles. So leaving them like that would be very risky, especially at night.
The foggy headlights are equal to your driver being blind. Therefore, to save you from any potentially dangerous incident, we take the responsibility of telling you how to clean the inside of your car’s headlights?
How to Clean the Inside of a Sealed Headlight – Steps to Follow
Sealed headlights are convenient by all means. But leaving your super subsidiary headlights in a damp state isn’t ideal, and that never will depend on many vital deals. So let’s conquer the steps by which you would clean the sealed headlights of your vehicle.
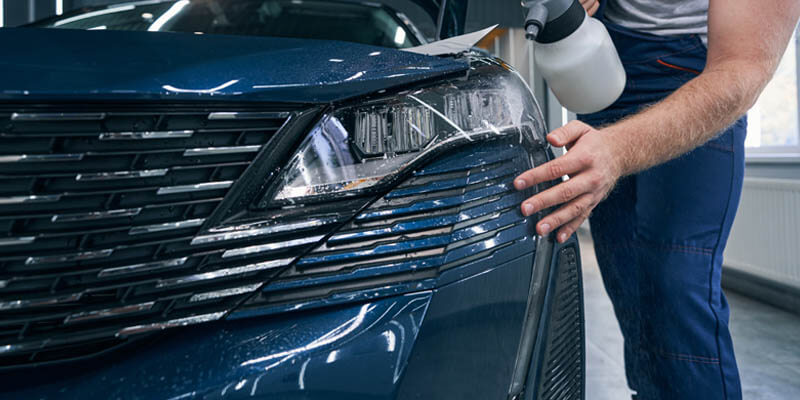
Step-1: Remove the Headlight Covers
There will be no vehicle found in the world that has no coverage over the headlight. You have to remove that to get the headlight to the limelight. Use your toolbox or simply a screwdriver to unscrew the screws that hold the housing and headlights together.
Step-2: Work with Screws
Before detaching the screws from the headlights, you need to do something with them. First, spray a little bit of penetrating solvent to reduce friction while you unscrew them. If you don’t own the spray, you can use grease oil instead.
Step-3: Detach the Headlight
Being done with the screws will push you further for detaching the headlight from the wiring connector that goes onto prongs at the back of your sealed headlights. To do so, lower the headlights from its vessel very carefully and detach it.
Step-4: Give a Wash to the Headlight
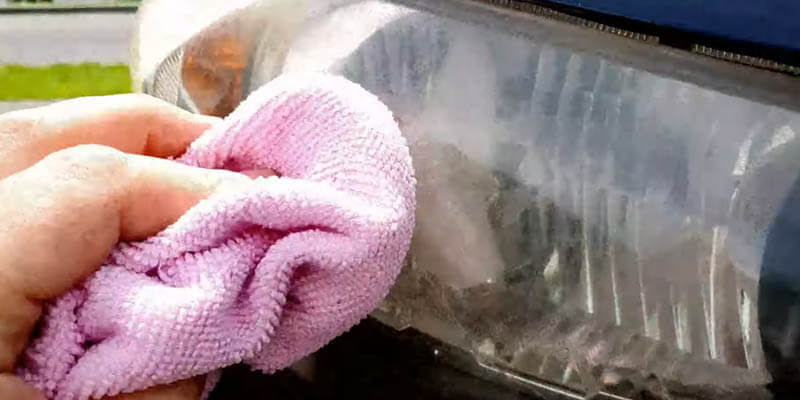
Now that you’ve successfully done detaching the headlights, it’s time to say bye-bye to the haziness by cleaning the headlights with a good quality automotive soap. First, use a sponge and wash the surface thoroughly. Next, wipe the inside of the sealed headlight until you get the dirt, debris, cloudiness, and particles out.
Rinse the headlights to remove the soap and dry it out properly with a microfiber towel. Wait for five minutes, and then get your restorer kit.
Step-5: Get Your Headlight Lens Restorer
In the headlight lens kit, you’ll get a cleansing wipe first; clean your headlights with that. Then you’ll get paper towels inside the kit. Once you’re done with cleaning the headlights properly, dry them using paper towels.
Step-7: Be Done with Restoring
Use all the packets from the restoring kit one by one. Wait for 30 minutes so that the headlights dry out properly. Don’t let water near your headlights for at least 30 minutes to find them shiny and crystal clear.
Meanwhile, what you can do is use a microfiber towel and aerosol electrical contact cleaner to clean the connector wiring area, socket, and the housing of the headlights to remove all kinds of dirt, dust, or debris.
Step-8: Get the Headlights Back to the Place
When you feel like all your belongings are clean, fix the back of the sealed headlight, and connect the wiring with the prongs to seal the headlight back in its place to be done with inside headlight restoration. Your inside sealed headlights are all ready to look not cloudy but shiny and clear.
How to Clean Inside Headlights Without Opening Them
The cloud inside the headlights prevents the bulbs from shining directly and making your bath bright. That is scarier than that sounds. So stick to us to discover the way of cleaning the inside headlights without opening them.
Step-1: Make the Cleaning Tool
For cleaning the inside of the headlight, you must make a magnetic tool using a clean piece of cotton fabric. First, cut the fabric into a small rectangular shape using scissors. You can go with a sponge if you want, but first things first, you need to cut that to the size of your palm.
If you’re choosing a sponge, then you need to cut a small pocket inside it. That might sound weird now, but you’ll know the reason eventually.
Step-2: Place Magnet
Since we’ll be cleaning without opening the headlights out, we need to place a magnet inside our cleaning tool to pull the dirt. So the small pocket inside the sponge is for the magnet.
You can make room for the magnet in the cotton fabric too, if you choose that to be your cleaning tool. But you would need to stitch the sides of both of them after placing the magnet.
Step-3: Get Started with the Headlamp
By reading the owner’s manual, get the headlamp out and cover it with a towel to avoid any kind of exploration or accident. Now take a stick that can attach to the magnet and use it to go to the inner side of the lens. Now move the magnetic cleaning tool around until you get all the dirt and debris out of there.
Step-4: Move to Rubbing Alcohol
Once you’re done with cleaning the dirt, you are to work on the hazing. For that, you need to clean the cleaning tool at first and then dip that into rubbing alcohol.
Now get that cleaning tool to the inner side of the lens and carefully wipe off all the dirt, dust, and stain. It will be quite difficult and will take quite some time. Be patient and careful enough for the best results.
Step-5: Cleaner Headlamp Ever
Continue wiping and rinsing until you get back your spotless, shiny headlamps. Now read the owner’s manual once again to put the headlamp back into its place. If the manual doesn’t help, feel free to search online with your vehicle model and watch some videos since different car models come with different headlamp unit systems.
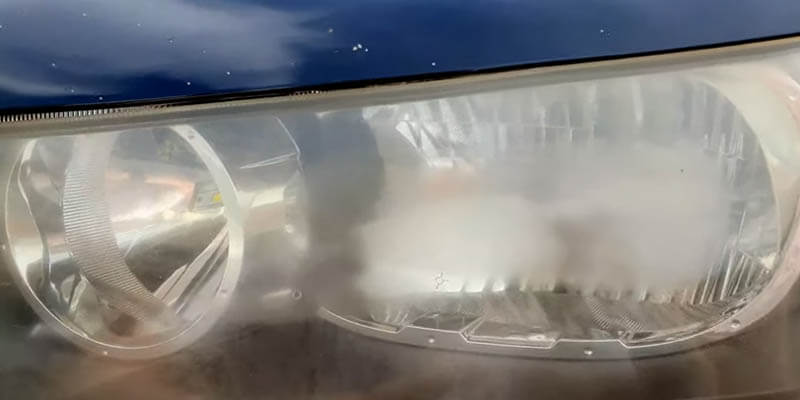
What Causes Oxidation Inside Headlights

Oxidation inside headlights is like having a blindfold while driving at night. However, to get over the situation, do we need to know the ways of cleaning inside the headlights? But don’t we need to know what causes the oxidation in the first place to defeat that? Of course, we do!
How to Clean the Dirt Inside the Headlights
We’ll never be able to find out the reasons why dirt got inside the headlights and left us with foggy headlights inside or outside in the first place.
Enough roaming around, you’ve come to the right place. We’re going to tell you the simplest way of cleaning the dirt inside headlights, and it is a home remedy for cleaning car headlights.
FAQ
The easiest way of getting the moisture out without even breaking the sealed headlights is using a hairdryer to blow out the moisture with hot or dry air into the vent. To figure the results out, you need to wait for your headlamps to cool down. Repeat the process until you get desirable consequences.
If you look around, you will find plenty of stuff that will turn out to be very useful, such as detergent, toothpaste, lemon, baking soda, rubbing alcohol, etc. These are very useful for cleaning your foggy headlamps at home.
It can happen on both sides. Mostly it happens outside. Cleaning it off, in that case, is easier. But excessive UV rays or moisture can cause oxidation inside too. Cleaning oxidation on the inside would be a bit tricky.
Conclusion
No matter how cruelly laziness suppresses you, we will always recommend you not to waste a single second with a foggy sealed headlight. Although, we know it gets a little intense around busy schedules. That’s why we’ve organized the simplest solutions to the problem ” how to clean inside of headlights?” above.
Be very careful while restoring the headlights and connecting the wirings, and always follow the owner’s manual to complete the tasks without damaging your headlights.
