
Restoring a classic car is like bringing a piece of history back to life. It’s a project full of challenges, learning, and ultimately, a lot of satisfaction. For beginners, the journey of classic car restoration can seem overwhelming, but with the right steps, it turns into an achievable and enjoyable adventure. Here’s a beginner-friendly guide to classic car restoration, step by step.
Step 1: Choosing the Right Car
The first step is like picking a team in a game at sports.woocasino you need to choose wisely. Look for a classic car that you really love, but also consider how rare or difficult it might be to find parts for it. Sometimes, more popular models have more readily available parts. Also, consider how much work the car needs, are you up for a full restoration, or would you prefer something that needs less work?
Step 2: Planning and Research
Before diving into the work, it’s important to plan. Research your car model thoroughly. Understand what it should look like and what parts you will need. Join online forums, talk to other car enthusiasts, and gather as much information as you can. A well-thought-out plan will save you time and money in the long run.
Step 3: Finding a Workspace
Restoring a car requires space. Find a workspace that is dry, well-lit, and spacious enough to work around the car comfortably. This could be a garage or a rented workshop space. Ensure you have enough room to store the car and all the tools and parts you’ll need.
Step 4: Gathering Tools and Equipment
You’ll need a variety of tools for your restoration project. Basic hand tools, a good jack, stands to support the car, and safety equipment like gloves and goggles are essential. Depending on the extent of your project, you might also need more specialised tools. Make a list of what you’ll need and gather them before starting.
Step 5: Disassembly
Start by carefully taking the car apart. This is where your research comes in handy you’ll need to know what parts to remove first and how to do it safely. Label and organise every part you remove and take lots of pictures. This will make it easier when it’s time to put everything back together.
Step 6: Bodywork and Rust Repair
Fixing the body of a classic car is a big task. It’s like doing surgery to bring the car back to life. Rust is a common problem, and dealing with it requires patience and skill. You might need to cut out rusty areas and weld in new metal. Smoothing out dents and getting the body straight is next. This step is crucial because it determines how good the car will look. If you’re new to this, learning from someone with experience or getting professional help is wise. Think of it as a learning opportunity every car has its story, and working on its body lets you become a part of that story.
Step 7: Painting
After fixing the body, it’s time to paint. Painting your car is like giving it a new personality. You need to choose the right colour. Do you want to keep the original colour, or are you thinking of something different? If you’re painting it yourself, you’ll need a good space, like a garage, and the right tools. This includes high-quality paint, a good spray gun, and safety equipment. Remember, a great paint job takes time. You’ll need to apply several coats and let each one dry completely. The effort you put in here really pays off when you see your car shining with a fresh coat of paint.
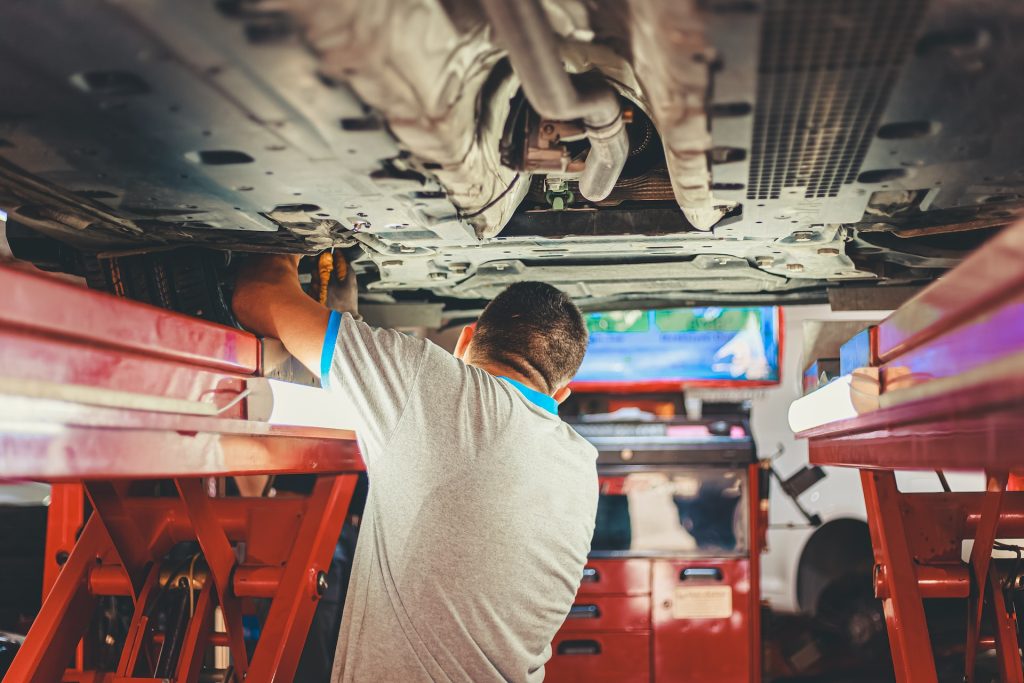
Step 8: Mechanical Repairs
Now, let’s dive into the mechanical part. This is where you get the car running smoothly. You might need to rebuild the engine, which is like the heart of the car. It’s a complex task where each part needs to be cleaned, checked, and sometimes replaced. Other things to look at are the transmission and brakes. These are critical for your car to run and stop safely. If mechanics isn’t your strong suit, don’t worry. There are many skilled mechanics who love working on classic cars. They can guide you, or you can even learn by watching and helping them.
Step 9: Interior Restoration
Last but not least, let’s talk about the interior. Restoring the inside of your car is like giving it a new soul. The seats might need new foam and fabric. The carpet might need replacing. And the dashboard might need some repairs or a fresh coat of paint. When choosing materials, think about how you want the final interior to look. Do you want a classic feel or something more modern? This is your chance to make the inside of your car feel special. Every time you sit in it, you should feel proud of the work you’ve done.
Restoring a classic car is a journey. It’s about patience, learning, and a lot of hands-on work. But the reward is incredible. Imagine driving a car that you’ve brought back to life with your own hands. It’s not just a mode of transport; it’s a piece of history and a reflection of your hard work and dedication.
Step 10: Reassembly and Testing
Now it’s time to put everything back together. Follow the labels and photos you took during disassembly to reassemble the car correctly. Once reassembled, thoroughly test the car to ensure everything is working properly.
Step 11: Maintenance and Upkeep
After your car is restored, regular maintenance is key to keeping it in good shape. Regular checks, cleaning, and immediate attention to any minor issues will help preserve your hard work.
Final Verdict
Restoring a classic car is a journey filled with learning and satisfaction. It’s a chance to connect with history and bring a piece of it back to life. Remember, patience is key, and every step in the process is an opportunity to improve and refine your skills. When you finally take your restored classic on the road, the sense of achievement is unmatched. For more detailed guides and tips on specific aspects of car restoration, you can always explore automotive blogs and websites dedicated to classic car enthusiasts.
